So over the course of the past year, we've accumulated 3 of these Children's Ikea Poang chairs. The problem.. the covers were washed without following the precise instructions, and SHRUNK. Ikea doesn't sell the separate covers, and I didn't want more of the chair frames, so I decided to do simply make new cushions & covers!

As you can see, badly shrunken!

First things first, I measured the back of the chair and cut 1" foam (purchased from Joanns). I ended up cutting mine 35" x 14.5".

Then I cut the material I chose (an upholstery fabric) about 1.5" wider than the foam measurements to account for seam allowance and the depth of the foam. In hindsight, I should have cut it at maybe only 1" wider, because the cover was a tad bit baggier than I would have liked.
I chose to recreate the original seat pad idea that simply has a "pocket" along the top back of the chair that slips over the chair itself to hold the pad on. I cut pieces the same width of my fabric, and 6" long.
I did a double fold hem to make sure they looked finished.


Then I laid my pieces out and pinned. I laid one of the first large pieces, right side up. Then placed the "pocket" right side up on top of that, with the hemmed section down - so that the unfinished sections would all be caught up in my sewing of the perimeter.

Then I laid the second large piece, right side down on top & pinned around 3 edges.

Here you can see the sandwiched layer that includes the pocket.

I used 0.5" seam allowances for the entire project.

Once I had sewn around 3 sides, I turned the piece right side out, taking care to fold the pocket onto the correct side so that the right side of the fabric showed.

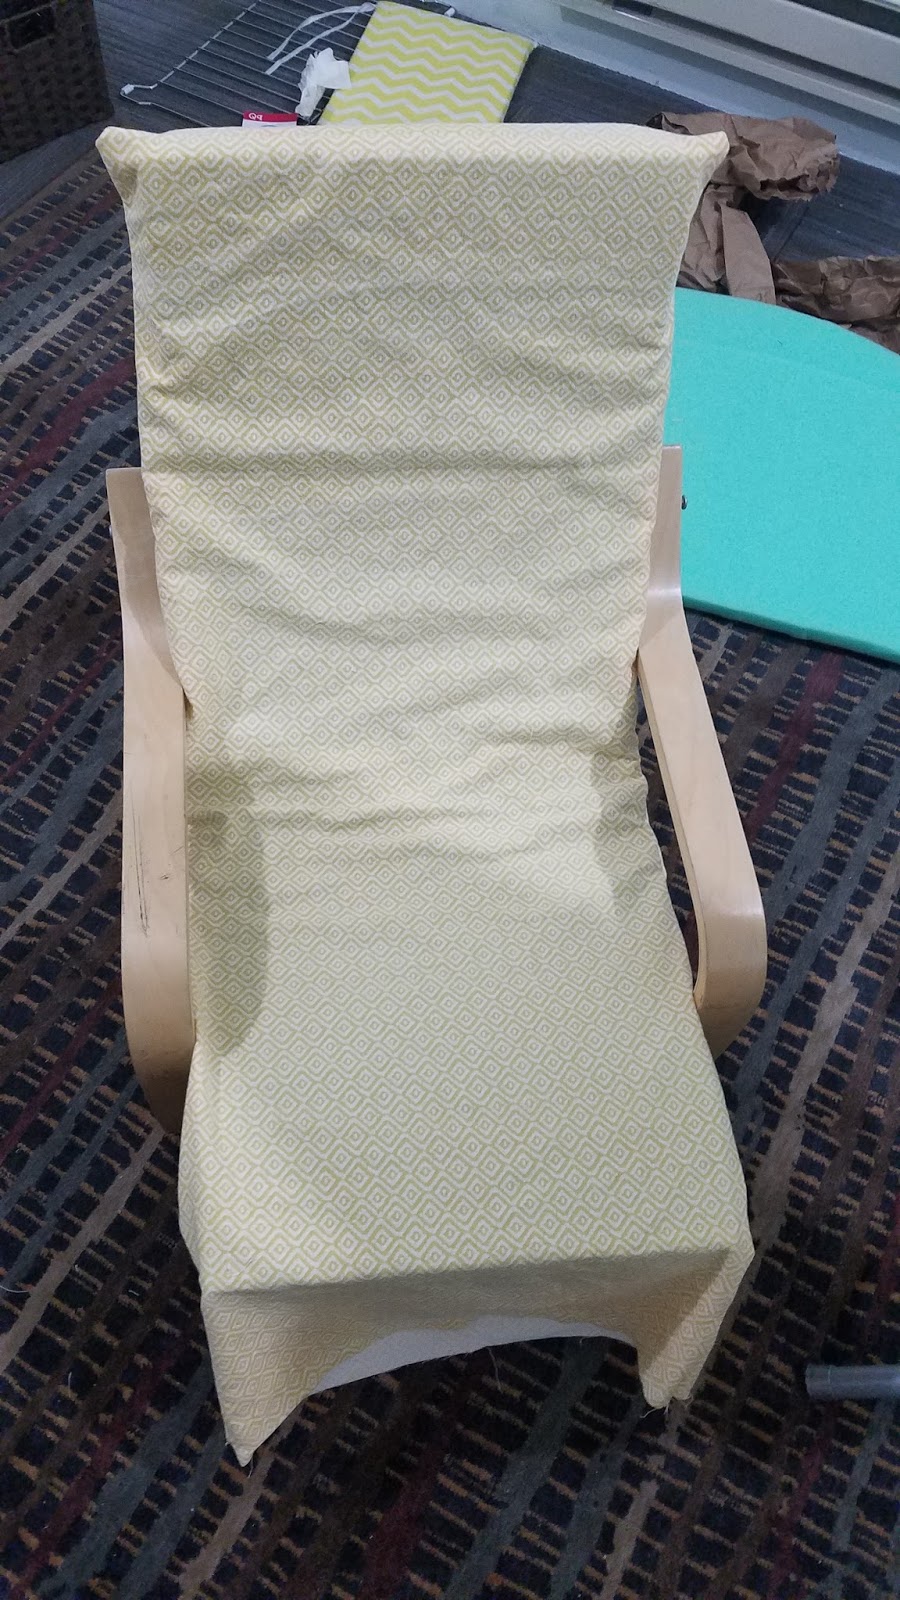
Then I stuffed the foam in and set it down to give it a test fit.
Here's where you can see some of the bagginess I mentioned above. I wish I had simply gone back through with a larger seam allowance to create a nicer fit.
But oh well, hindsight is 20-20, right?
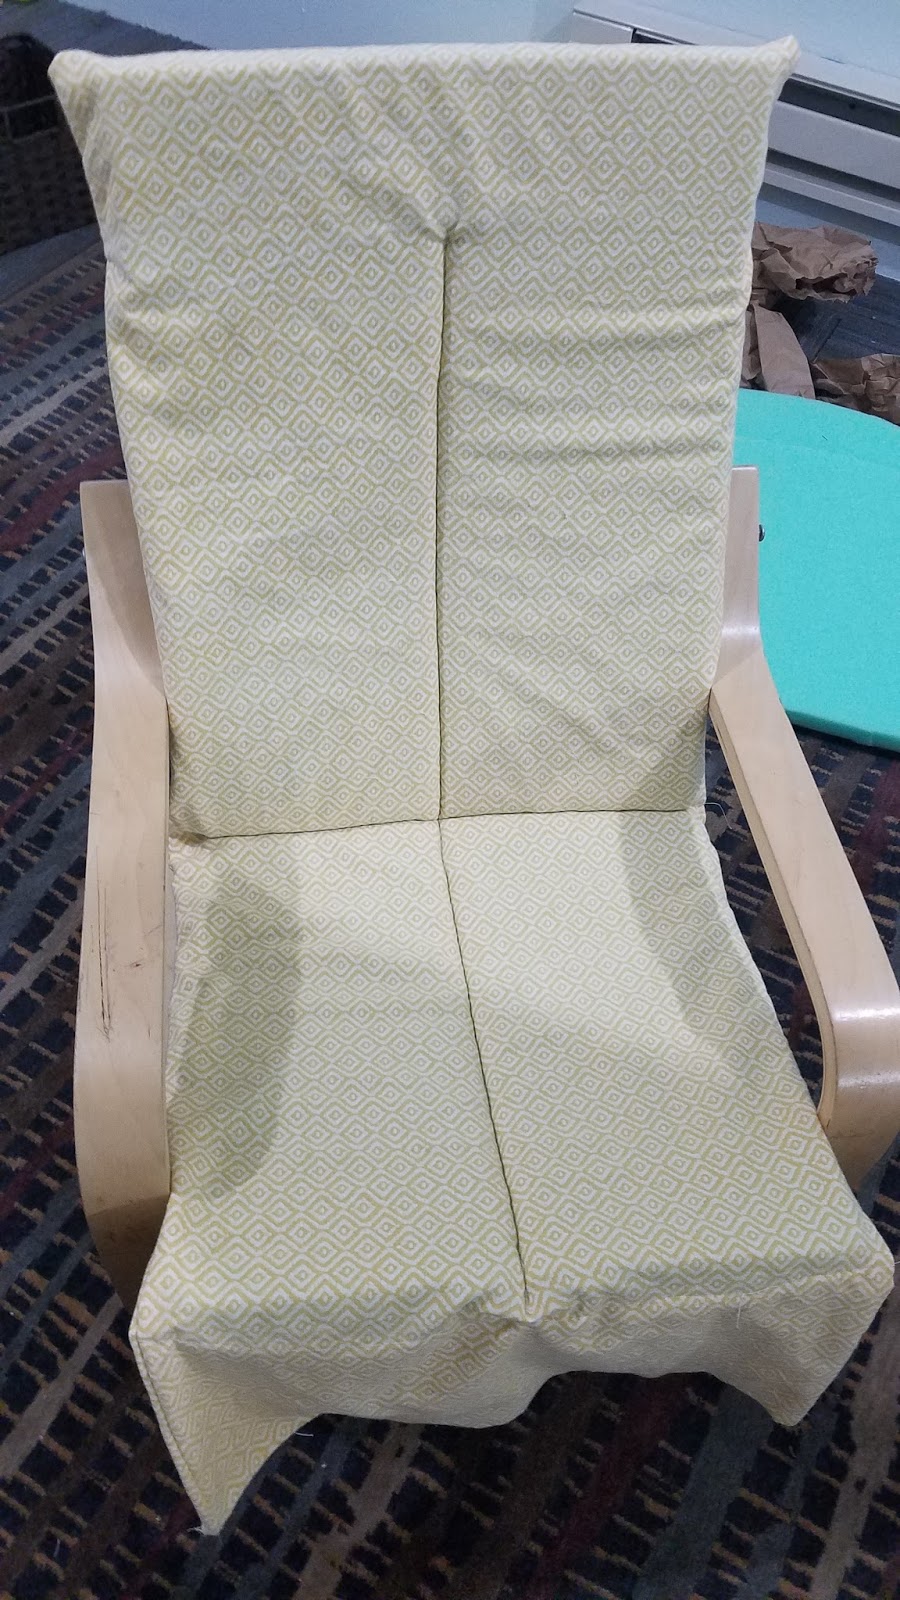
Then I added 1 row of top stiching down the middle of the foam cushion to help ensure that it would not slip and slide around while being used.

Again, in hindsight, I probably would have added 2 more vertical lines on either side - and honestly, I still may!
It's also a little hard to tell, but I also sewed a horizontal line where the seat back and seat cushion meet. It was one continuous piece of foam, but I wanted to create a "hinge" point to help the cushion sit neater on the frame.
Next, I folded the end material around the edge of the chair to see how much slack I had. The original chair design includes velcro along the bottom edge for the cover to be attached too. I did a quick folded measurement to make sure I was appropriately reaching the foam.

Then I cut off excess material (I had not measured the length too carefully while cutting because I knew the extra pieces would not be significant.)

Then I folded the edges in to give it a more streamlined look from the front/sides.

And then folded the hem down to make it look finished. 1 Quick top stitch along that hemmed edge and I was almost finished!


I happened to have some iron on velcro at the house in a neutral color, so I went ahead and used it! I cut pieces to cover the entire edge and followed ironing instructions to attach.


I tried to make a head cushion like the original chair included...but that did not turn out too well! I couldn't figure out how to get it to lay down flat. So I ended up ditching the idea for now!

And viola! The cover is done! Certainly not perfect, but a bit cushier and nicer looking than what we had! :)


Next - a repainting of the frames! One of the chairs we got is already pink, but the other two are natural wood, and a bit dirty!


Thank you for reading! Let me know if you have any questions! I'll do my best to answer. :)
No comments:
Post a Comment